Ensure that you have completed Scenario 1 before proceeding with the following steps.
To restore the files from the backup to the “/tmp/bacula-restore” directory on the trial VM, follow these steps:
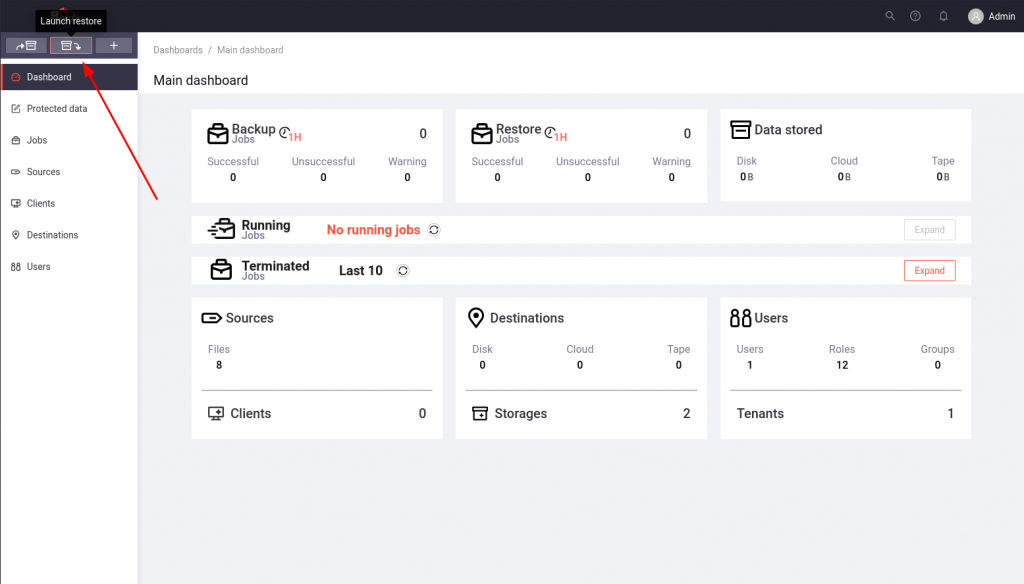
- Click on the “Launch restore” button located on the upper left navigation pane, below the Bacula Systems logo.

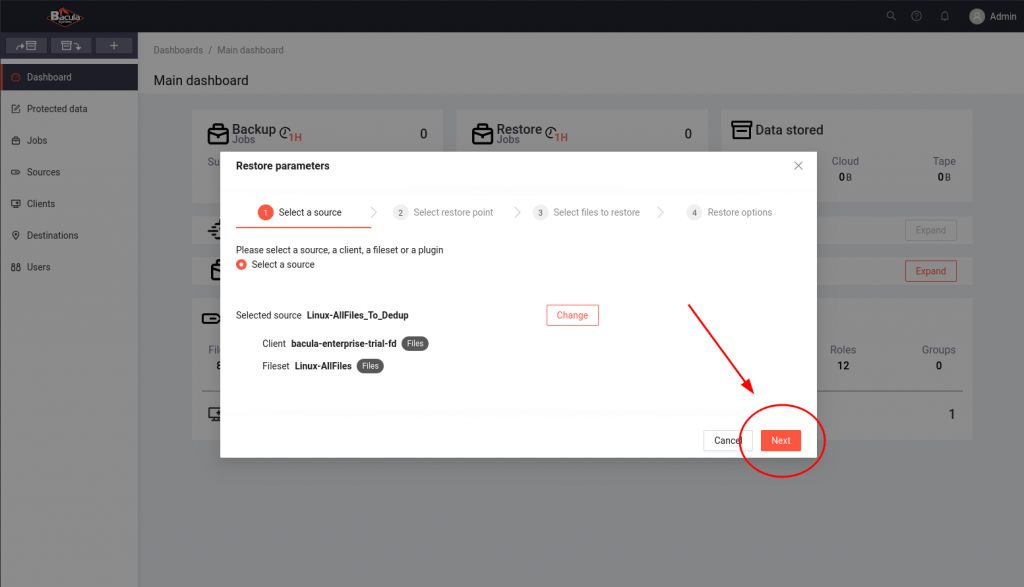
- The navigation pane for “Restore parameters” will be displayed. Proceed by selecting “Select” to transition to the “Select source” window. Here, choose the source to restore (the same as used in Scenario 1, “Linux-AllFiles_To_Dedup”), and click “Ok”.

Then, click on “Next”.

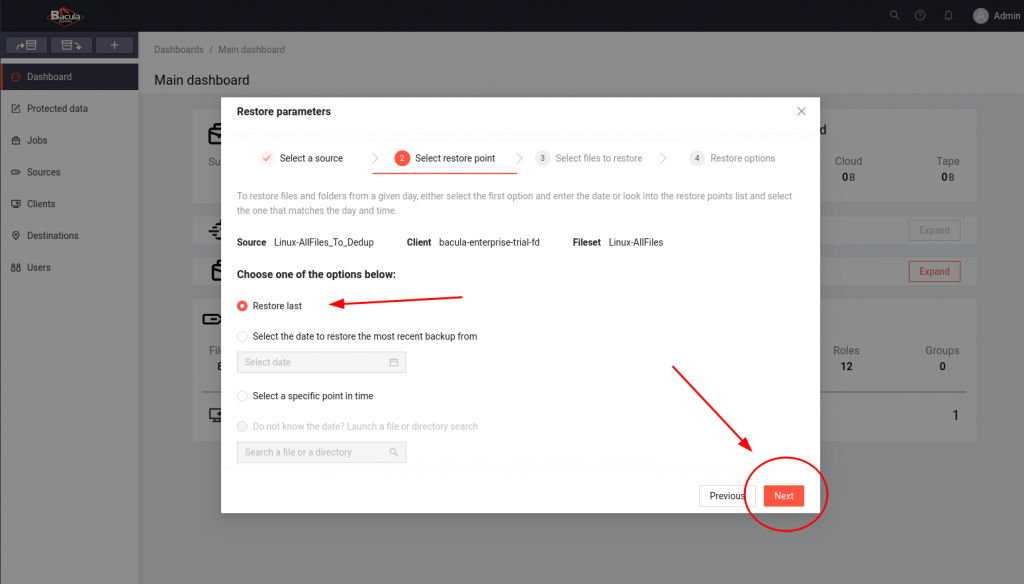
- Review the details regarding Source, Client, and Fileset. Select “Restore last” and click “Ok”, then proceed.
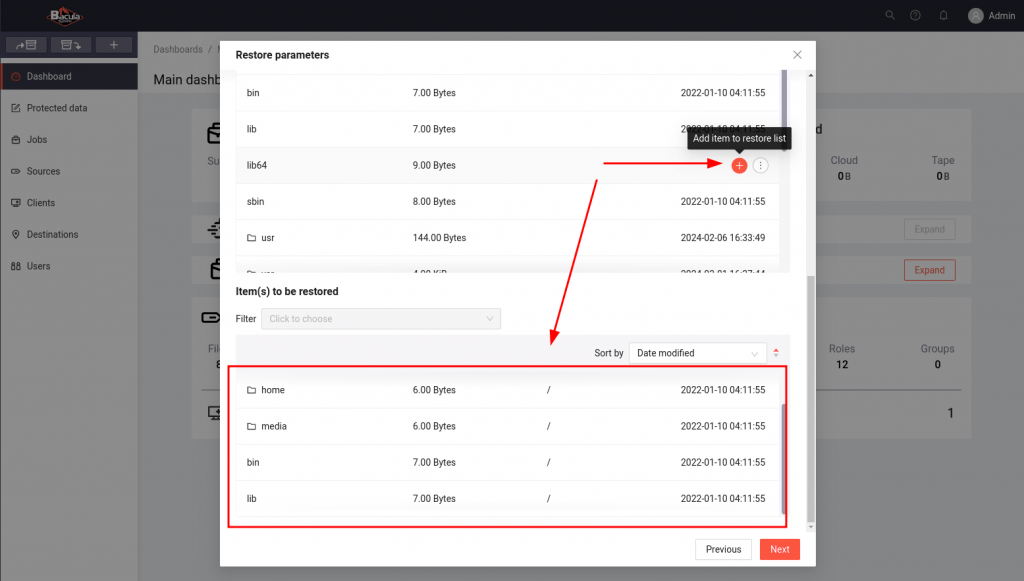
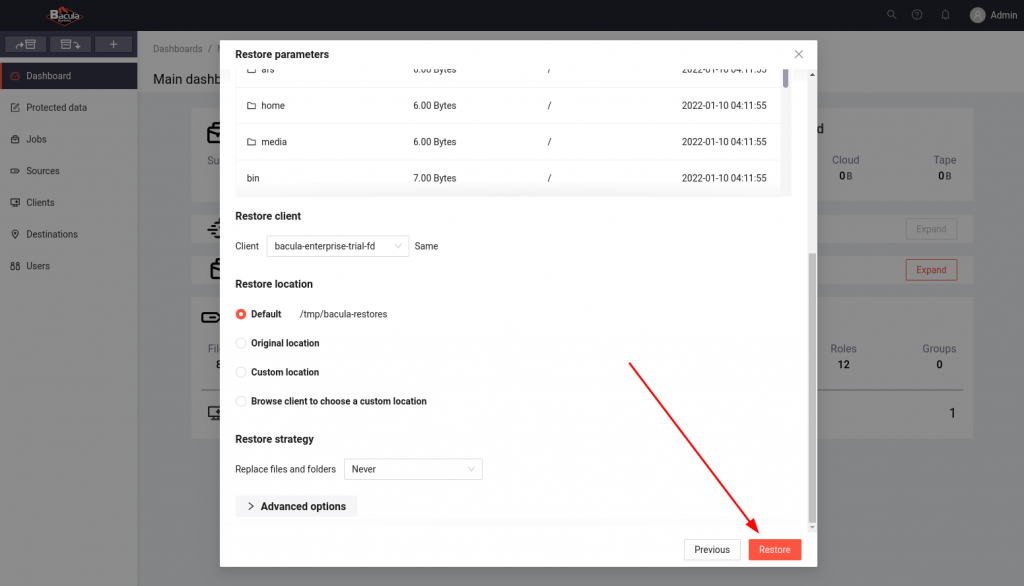
- In the next tab of the “Restore parameters” window, within the “Files and folders” section, you have the option to selectively restore data by navigating to the desired directories. Scroll down to see the entire selection. You can also manually input the directory path by clicking on the edit icon at the center. Subsequently, add the data you intend to restore by clicking on the plus icon in the right column of the navigation pane. If you prefer to restore all data, add everything from the root, and proceed.

- The files and folders that were previously selected can be found under the “Item(s) to be restored” section in the last tab. To view the complete list, simply scroll down. Ensure that everything is in order before proceeding and click on the “Restore” button.

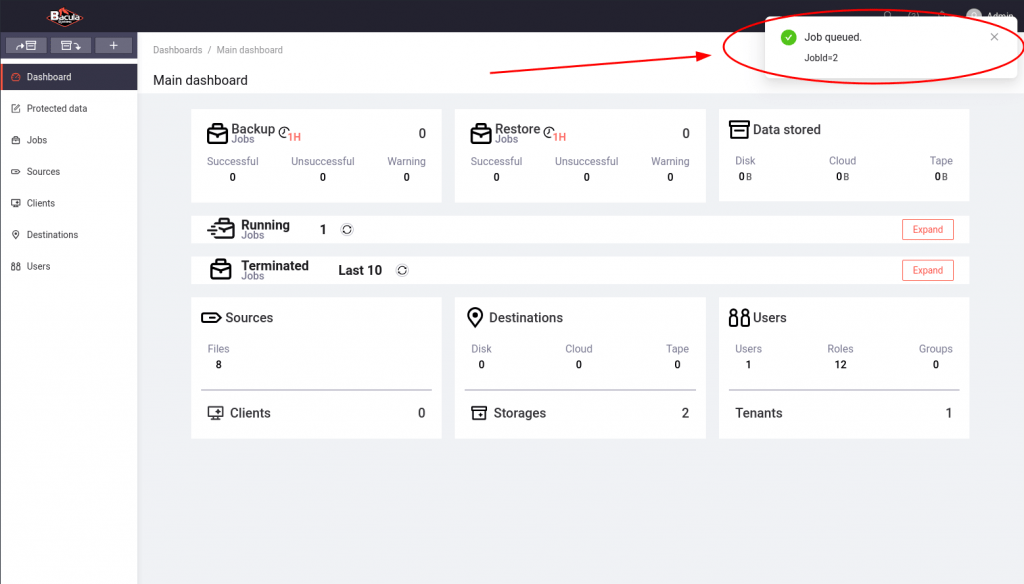
- Once the restore process begins, a pop-up window will appear in the upper right corner, confirming that the job has been successfully queued.
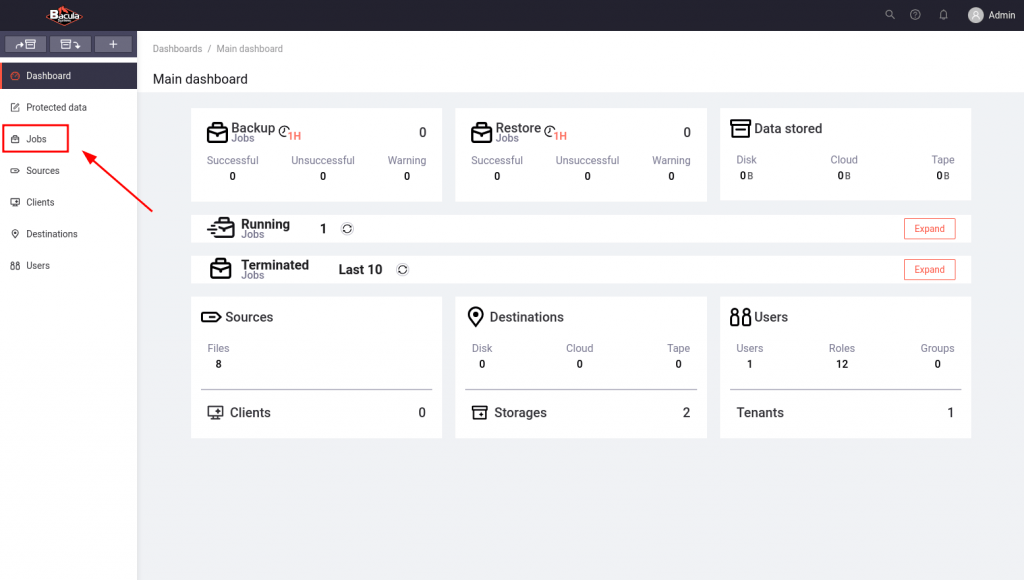
- To view the details of the restore job, navigate to the left menu and click on “Jobs”. From there, select either the “Running” tab if the job is still in progress, or the “All terminated” tab if it has already been completed.
- If you are familiar with shell commands, you can also verify the restored files by logging in to the virtual console or connecting via ssh to your Trial VM. Use the username “root” and the password “bacula” to access. Then, execute the command “ls /tmp/bacula-restores/” to view the contents of your destination folder.

- Take note of the available space in the Trial VM’s “/tmp” directory if you perform multiple restore jobs. It is recommended to delete all files and folders under “/tmp/bacula-restores” after testing a restore. This will prevent the VM’s “/” partition from reaching 100% capacity.