Installation Video Tutorial Option
Import the OVA file into your Virtual Box environment making choices that suit your environment such as the VM Name, the network to connect to etc.
The network that the VM is attached to must be one with a functioning DHCP server and DNS Server.
Note: After the OVA is imported into a Virtual Box environment, the network the VM is attached to must be a “bridged” one, because there are scenarios in this guide where an external client will need to connect back to the storage service on this VM.
Start the Bacula Enterprise VM.
Once the VM is running, you should be presented with a Linux console login screen showing the URL to connect to with your web browser to begin testing the trial:
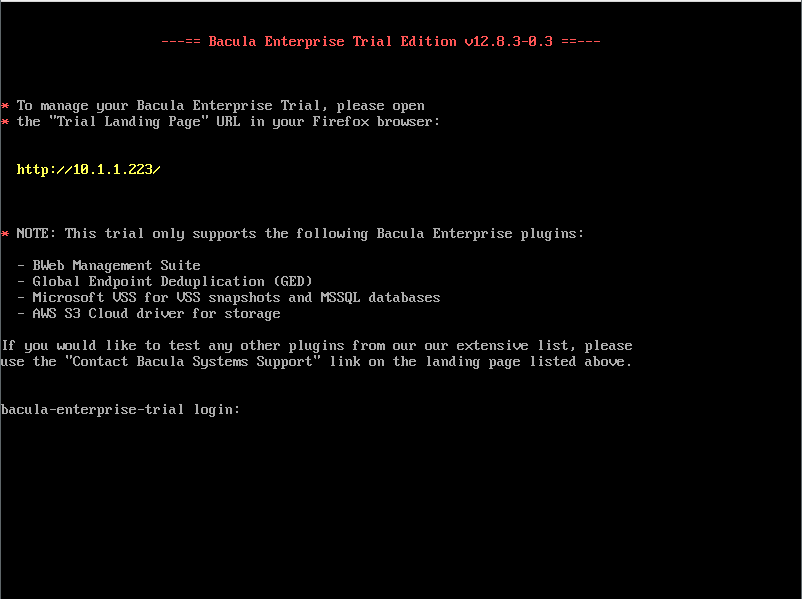
The URL will bring you to a landing page with the following four options to choose from:
- Open Bacula Enterprise Trial Guide: This option will open the online trial guide (this page you are on now) in a new browser tab.
- Manage Bacula Enterprise Trial with ‘BWeb Management Suite’: This option will open BWeb in a new browser tab.
- Contact Bacula Systems Support: This option will open a new email in your default email client with some fields already filled in. Sending this email will open a new ticket with the Bacula Systems’ Support team.
- Reset the Bacula Enterprise Trial environment back to defaults: This will reset the trial back to completely brand new as if it were just imported into your virtual environment. You will be asked to confirm this step.
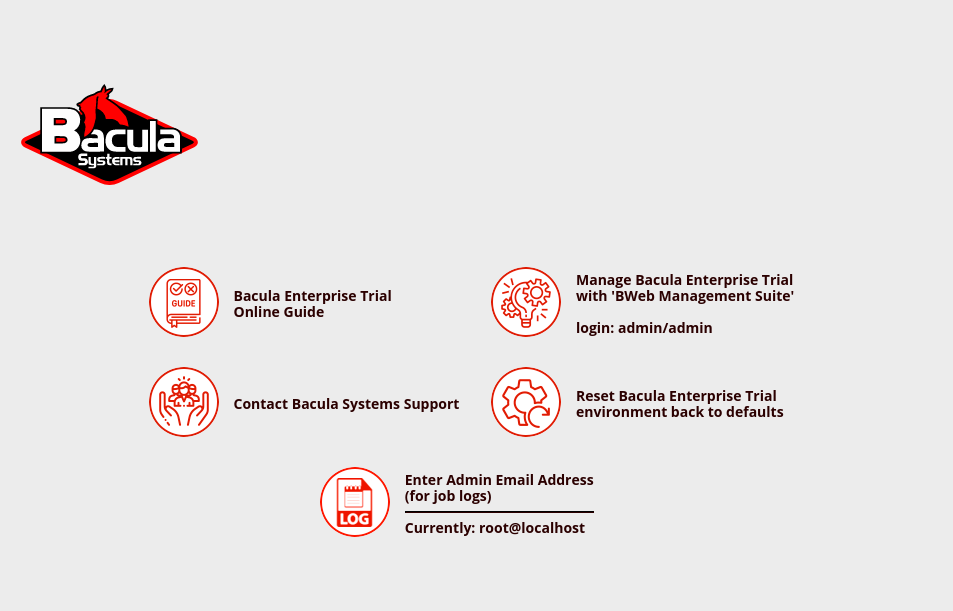
From the landing page, click on “Manage Bacula Enterprise Trial with ‘BWeb Management Suite’” to open BWeb and move on to Scenario 1. The username and password for BWeb are both ‘admin’ by default, and you will likely have to approve your trial appliance self-signed certificate in your browser.